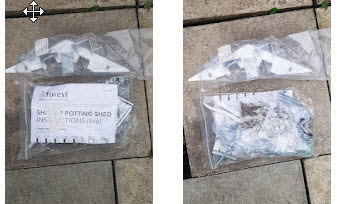
Today Emma, Andy, Kelly and I started the erection of my Forest Garden Potting Shed which started with the uncovering of the component parts that have been stacked next to the base since delivery
As can be seen from the paving slab base to the potting shed it had been raining yesterday and the slabs were still wet. As much as possible I had stacked the potting shed elements in the order we were going to need them for the erection.
Both sides of the bag with the manual, screws, nails, nuts & bolts and fittings.
As can be seen We laid the two flooring units upside down on the paving slab base.
As can And then proceeded to screw the two units tight together alternating the screw directions
Then we turned the flooring over and moved it so it was located exactly where we wanted it as the base had been made to measure for the potting shed.
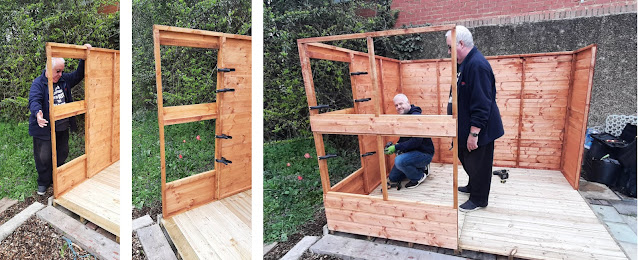
We started with the corner and fixed the two panels together and then we added the second panel and Andy screwed them together.
I had a bright ides of using large clamps that I have to hold netting down the the raised beds to hold the studs in the panels together which worked really well.
By this time Emma had been taking the photos and recording our progress for this blog posting but the both wanted to be in the photos, so I told them to pick up the drills one had a drill bit in and the other a screw bit, and to try and look like they were working.
Gable End Door Opening Panel
Gable end panel fixed with a lot or persuasion from a hammer to get the joint and panel the members to locate correctly. We then fitted the fixed windows to the front and gable ends, which was a little challenging due to the heavy tolerancing between the window forms and the timber framework.
For what they charge for the shed they really should pre drill the apex bolt holes, the drill is not supplied with the fitting kit and not everyone has the skill to drill holes perpendicular to the timber rafter members.
With the rafters up the purlins were added at the apex and mid slope locations.
Main Roof Supporting Rafters were fitted but as you can see there was a slight up lift from the middle support to the gable end on the left. This directly affected the in flatness of the roofing sheets and made it impossible to get the sheets to abut at the apex and still be parallel to the gable end.
Andy and I spent some time trying to tweak and find out what was causing it, and we did get some improvement by hammering home the gable panels more, but I believe it the lack of pre drilled holes in the rafter members that was the main cause as we were so exacting on the level of the foundation and the verticality of the walls when constructing the potting shed.
.jpg) |
Main Roof Supporting Rafters and purlins as good as we could get them we fixed the roof sheeting which has a treated side and it's important to fix it the right way around.
With the roof felted but the opening vents on the gable ends still not fitted we called it a day and all went home.

.jpg)
.jpg)

.jpg)
.jpg)
.jpg)
.jpg)
.jpg)

.jpg)

%20A.jpg)

.jpg)
.jpg)
.jpg)
.jpg)
.jpg)
No comments:
Post a Comment